Showing 1–24 of 92 resultsSorted by price: high to low
Sort by
- Article Number
- Top Sellers
- Novelties
- Title
- Price (Low to High)
- Price (High to Low)
By selecting items, you can choose which products should be printed.
PRINT
Spine Holder MIS incl. Skin and Spine LDPR1232
PR1232
Spine Holder MIS with Skin cover and large lumbar Spine L1-Sacrum LDPR1232 as a set
PRINT

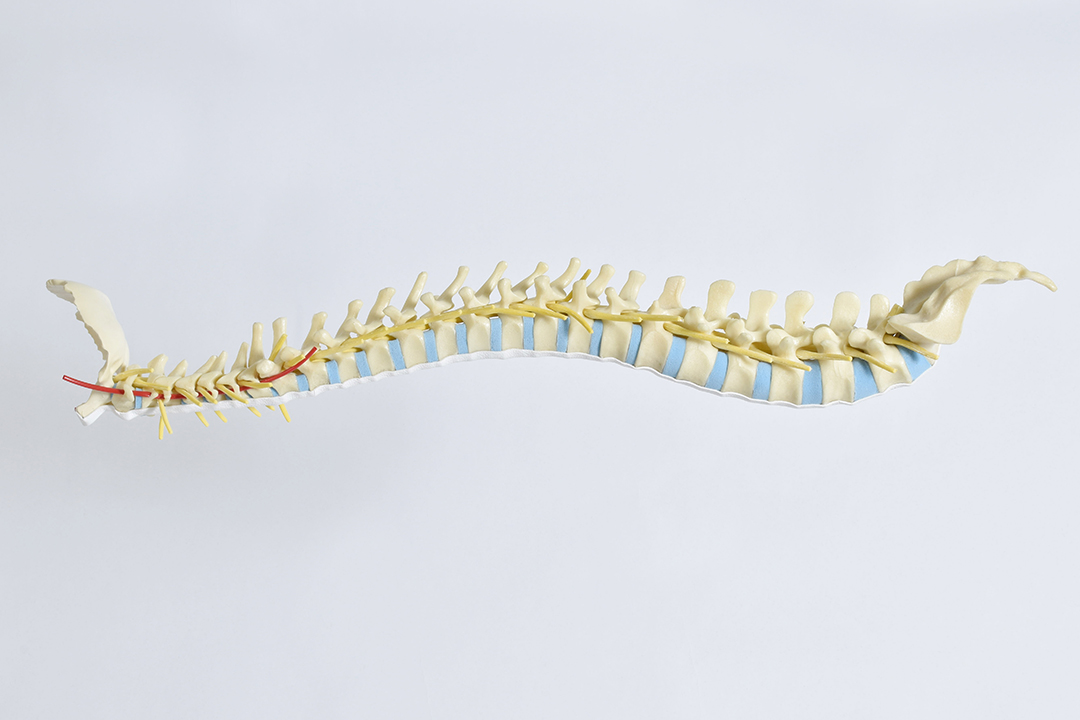
Spine C1-L5 w/Pelvis, Occiput, Arteries & Flex Rod
LSS9305.7
Spine with Occipital Bone, all Vertebrae, Sacrum with Pelvis, flex rod and Arteries
PRINT

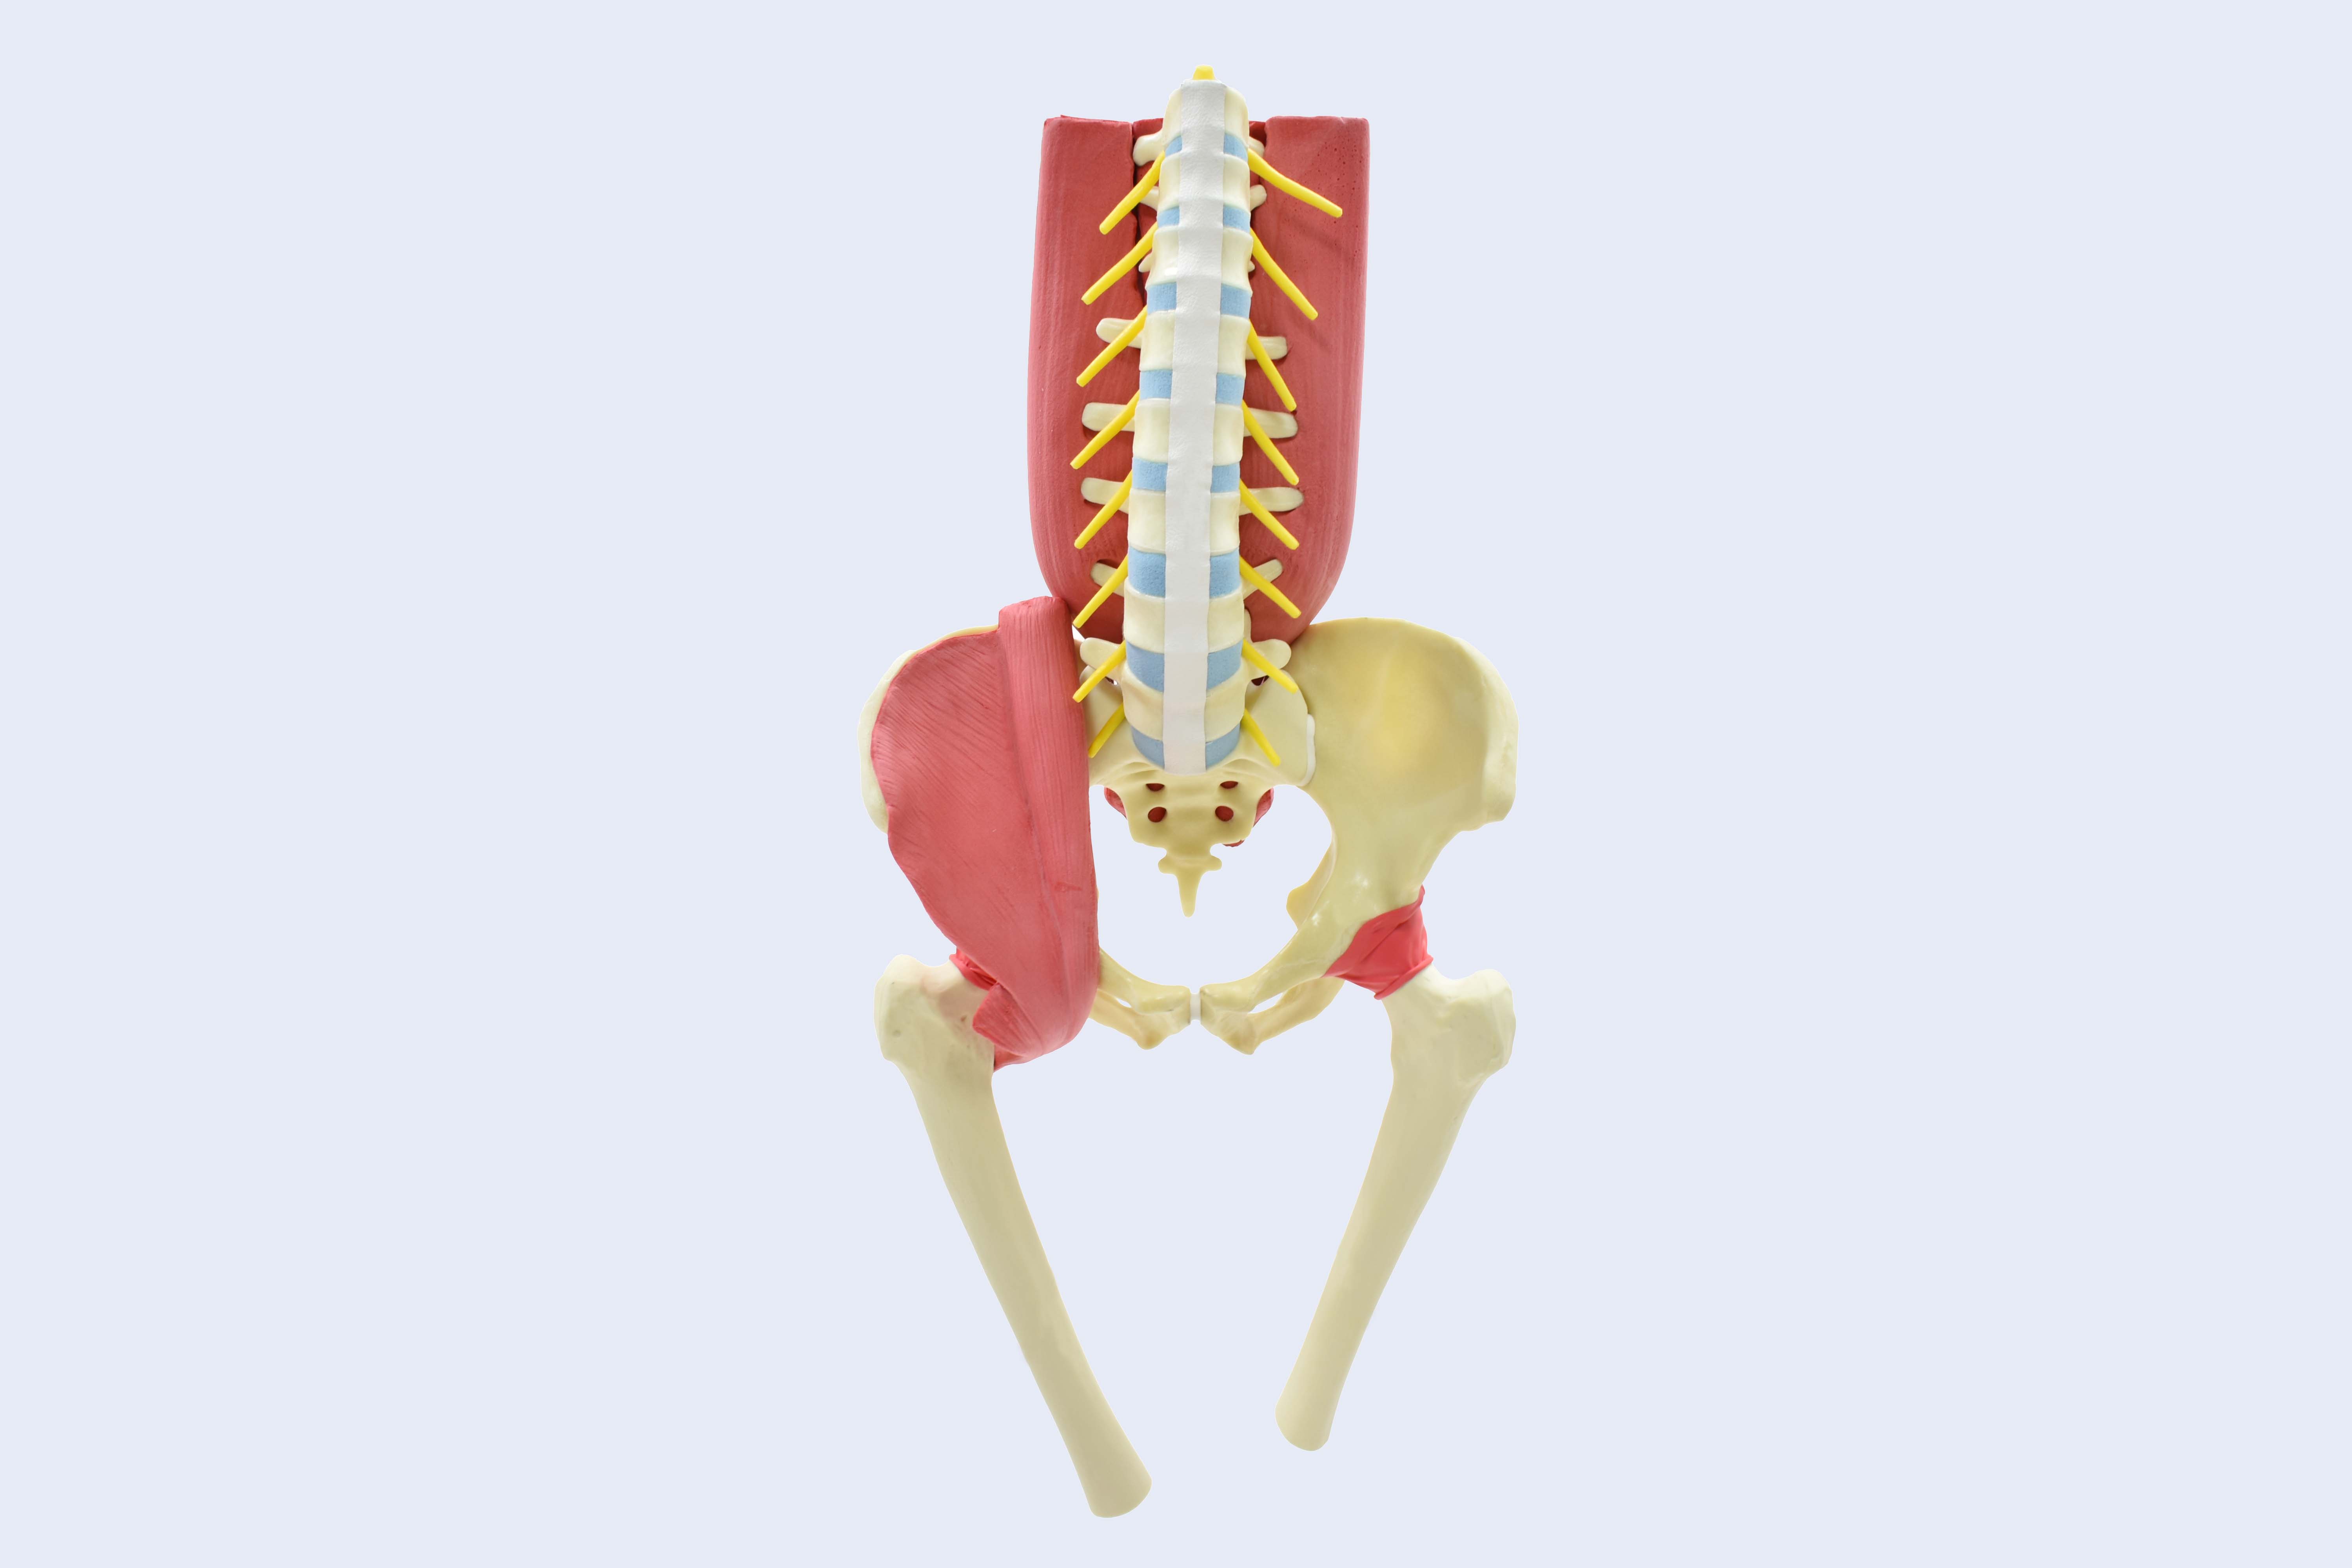
Spine T10-L5 w/ Pelvis, Femur, Muscles, Spinal Cord a/ Nerves
LD9307.0
Spine from T10 to Pelvis with spinal cord and nerves, muscles such as right m. psoas major, m. iliacus and dorsal spine muscles. With proximal femur
PRINT
Spine T10-L5 w/ Pelvis, Femur, Muscles, Spinal Cord a/ Nerves
LSS9307.0
Spine from T10 to Pelvis with spinal cord and nerves, muscles such as right m. psoas major, m. iliacus and dorsal spine muscles. With proximal femur
PRINT
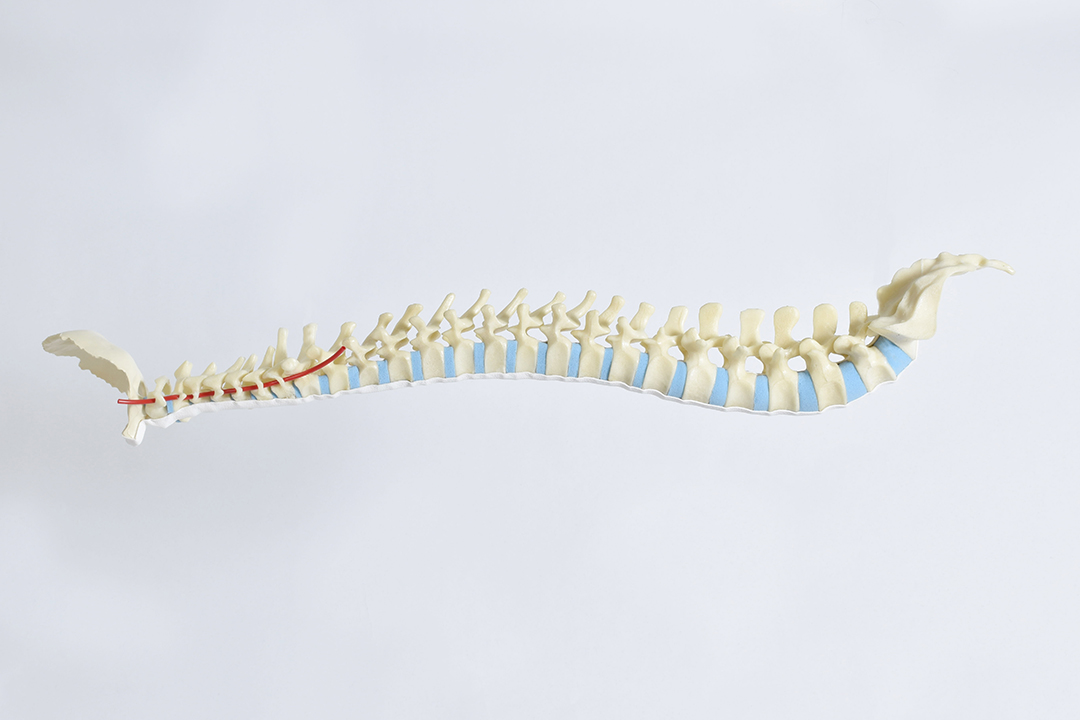
Spine C1-L5 w/ Pelvis, Flex Rod and Arteries
LSS9306.7
Spine with all Vertebrae, Sacrum with Pelvis, flex rod and Arteries
PRINT

Spine C1-L5 w/ Pelvis, Occiput and Arteries
LSS9305
Spine with Occipital Bone, all Vertebrae, Sacrum with Pelvis and Arteries
PRINT
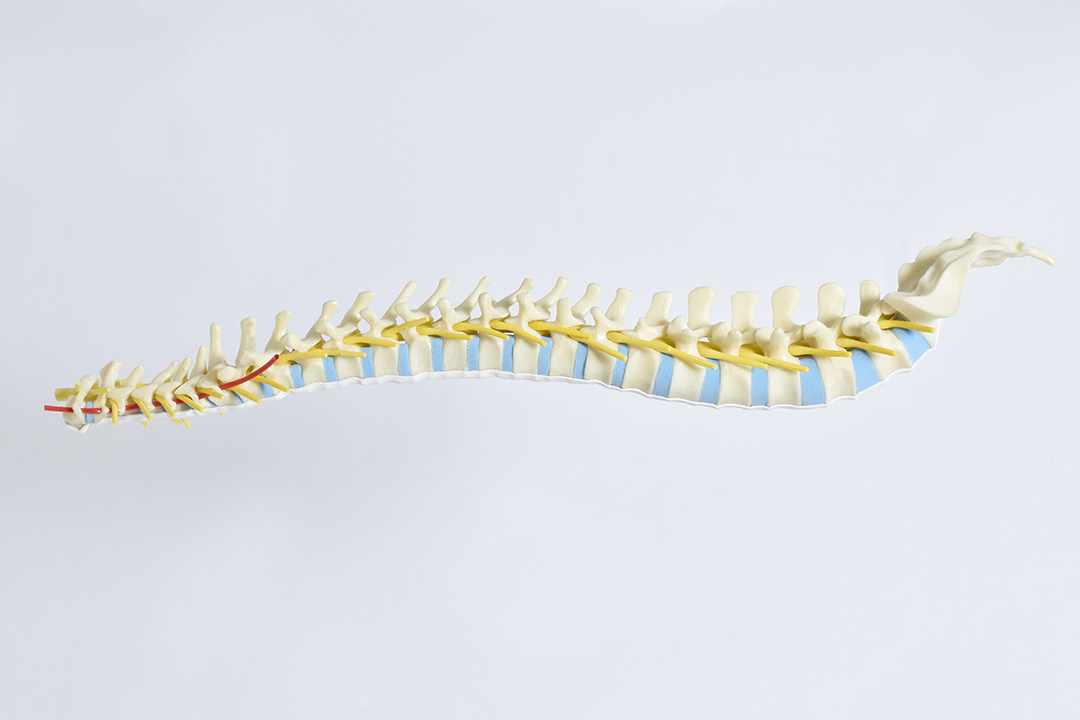
Spine C1-L5 w/ Occiput, Sacrum, Spinal Cord, Nerves a/ Arteries
LSS9310.6
Spine C1-L5 with Occiput, all Vertebrae, Sacrum, spinal cord and nerves and vertebral arteries
PRINT
Spine C1-L5 w/ Occiput, Sacrum and Arteries
LSS9310
Spine C1-L5 with Occiput, all Vertebrae, Sacrum and vertebral arteries
PRINT
Spine C1-L5 w/ Sacrum w/ spinal cord a/ Nerves
LSS9315.6
Spine from C1 to Sacrum with spinal cord and nerves and with vertebral arteries
PRINT
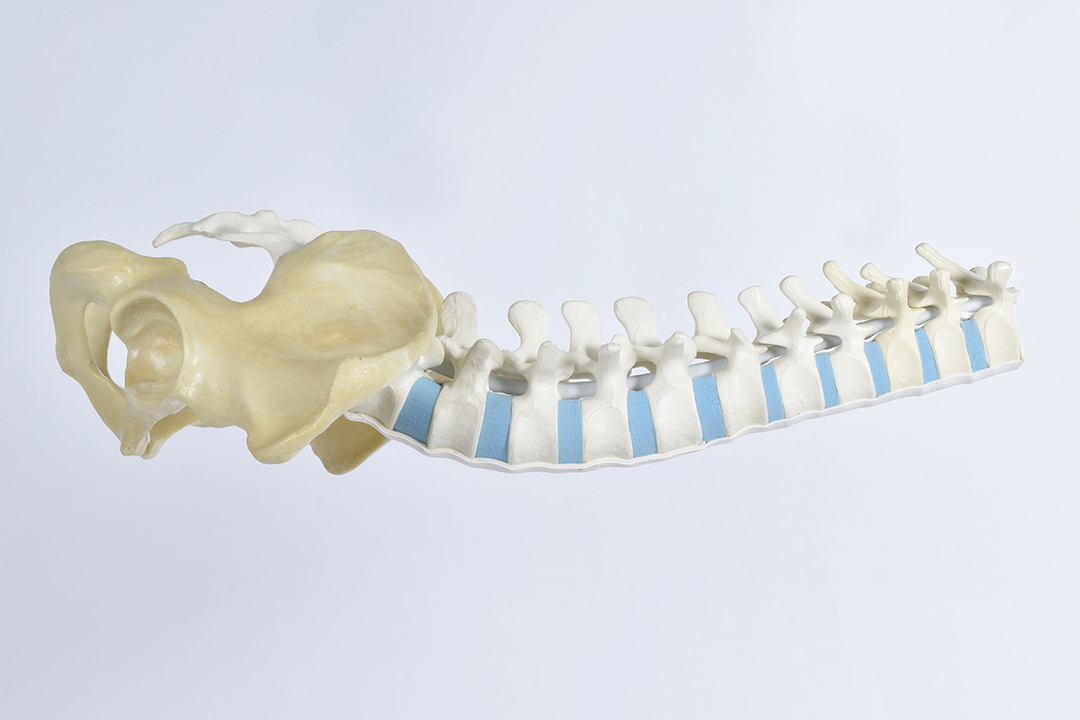
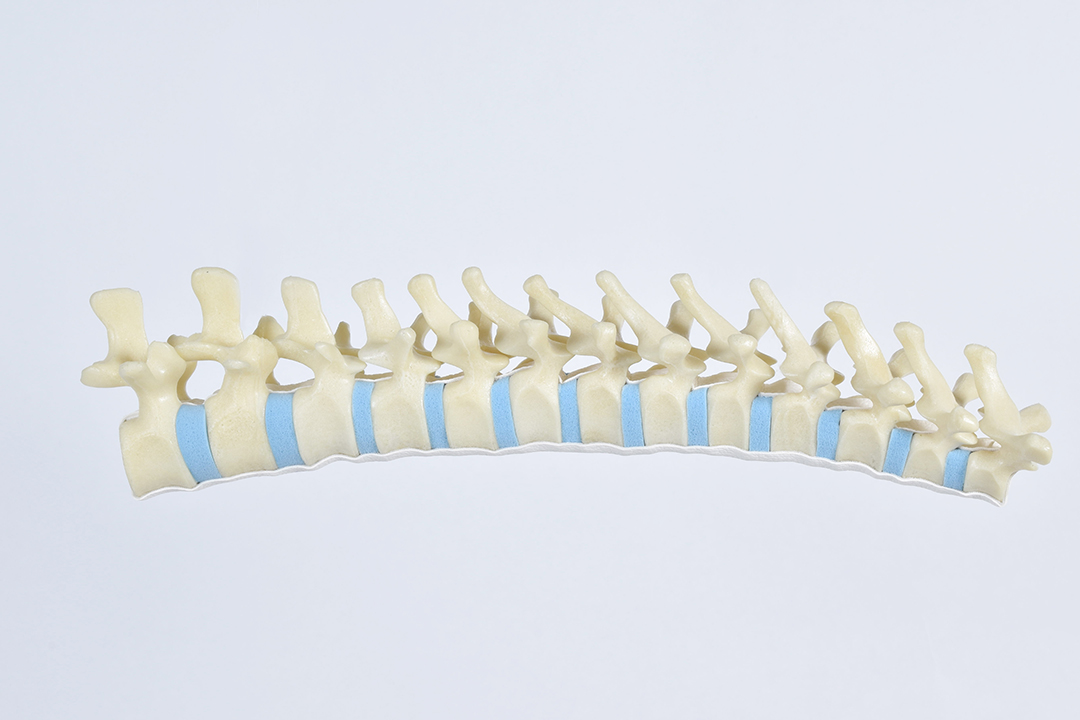
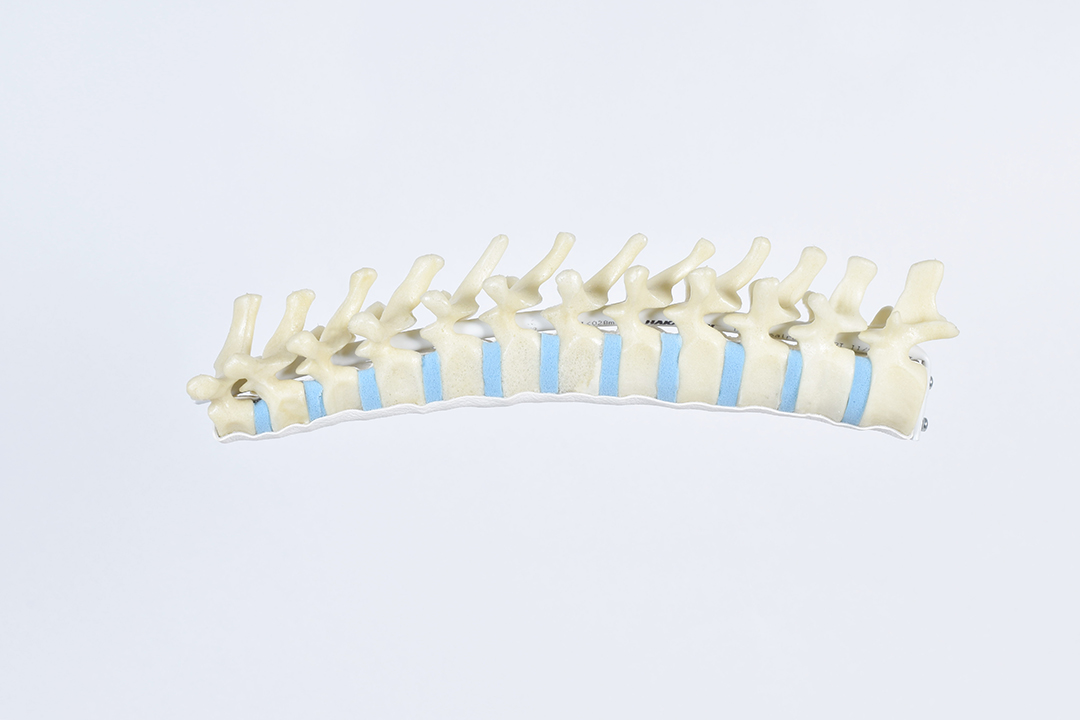
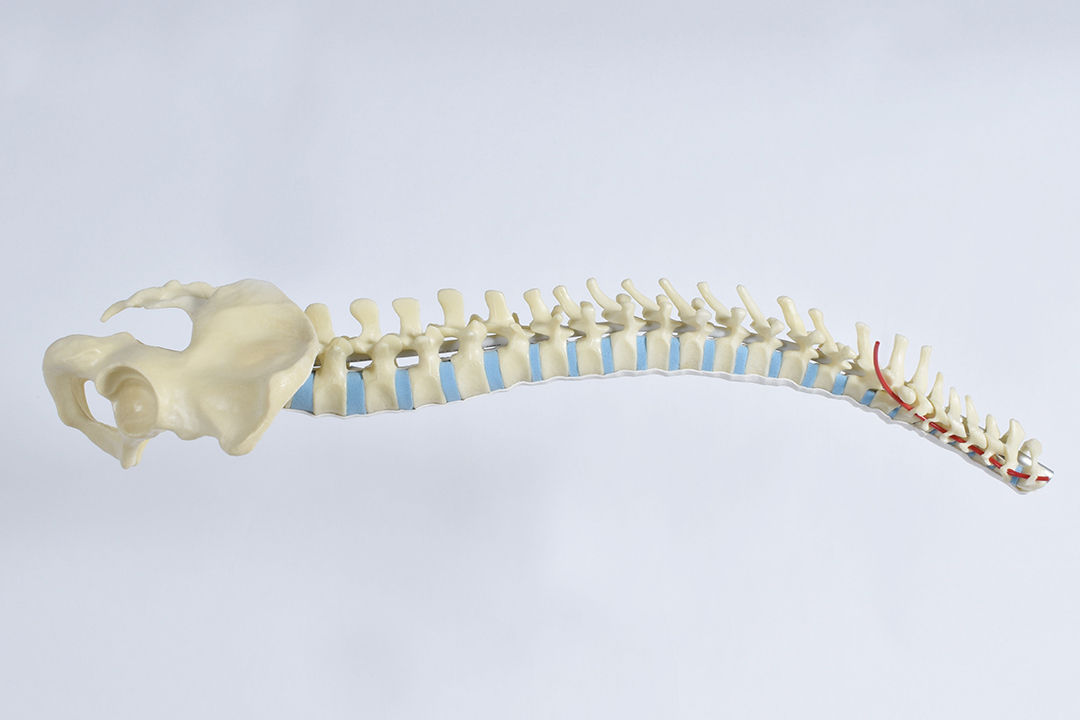
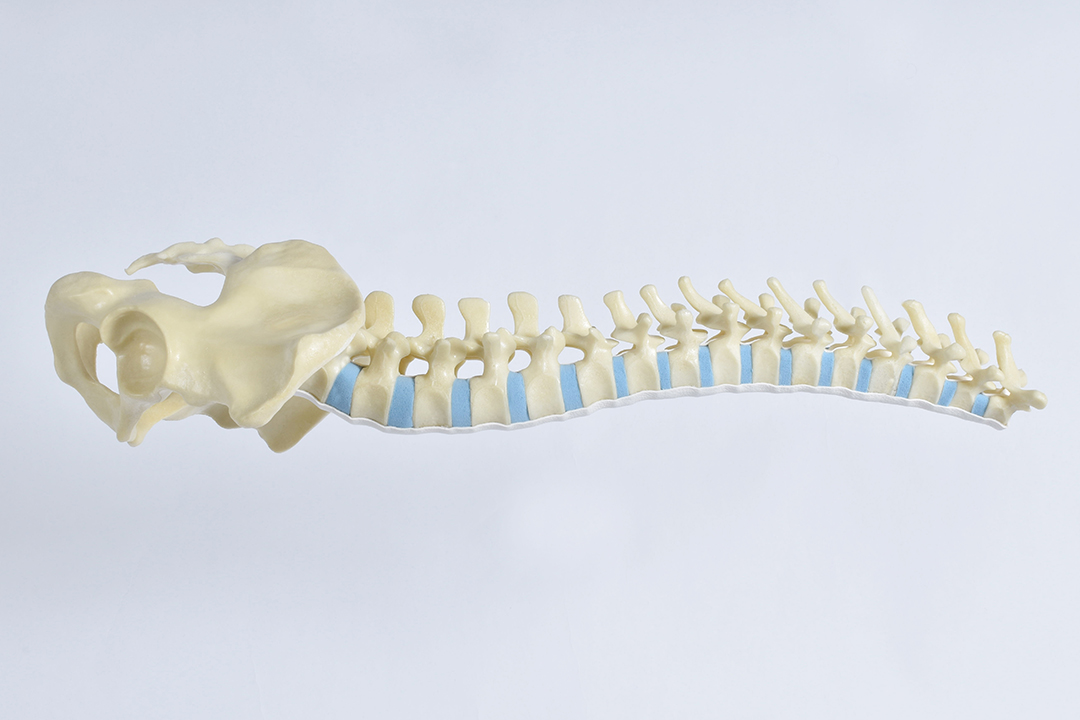
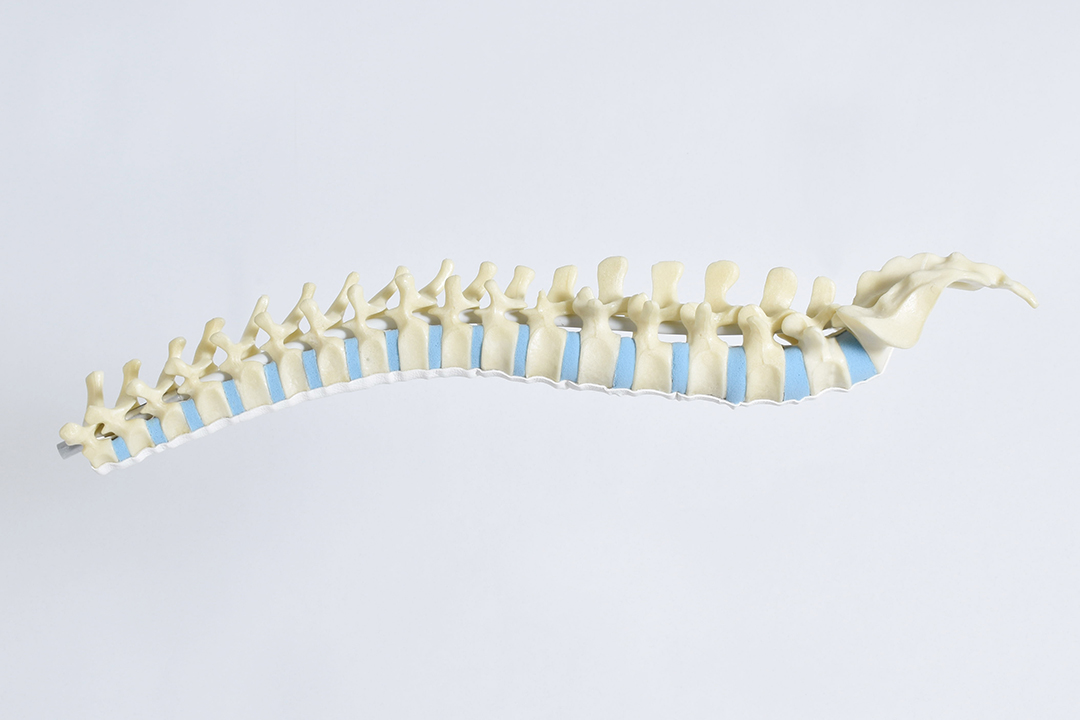
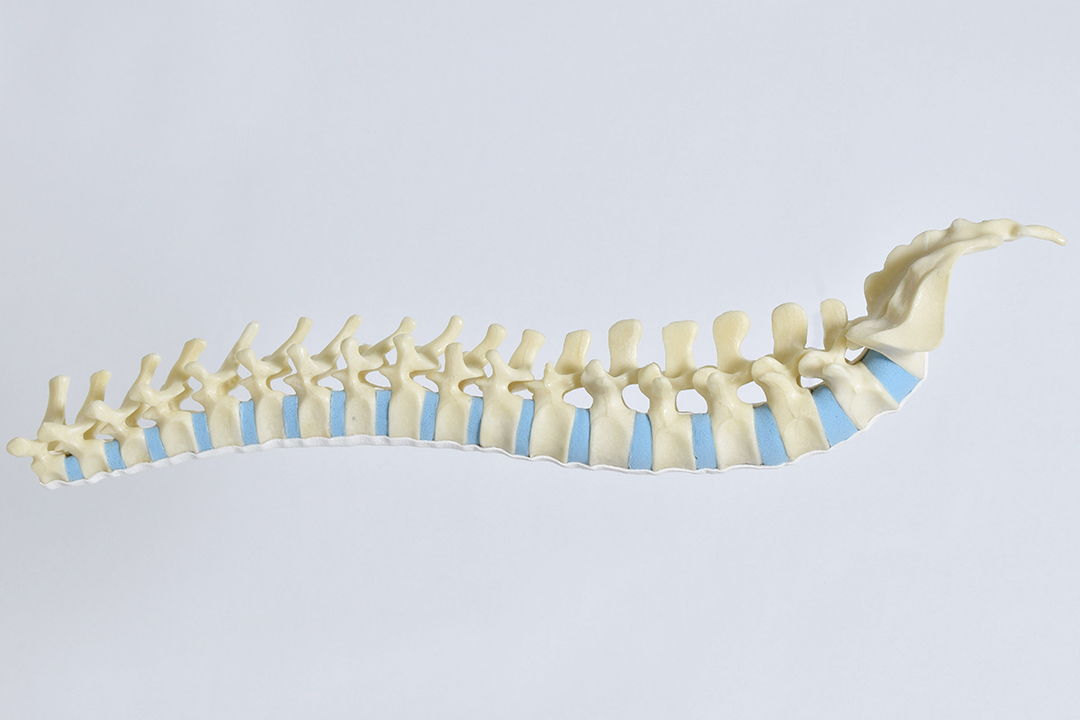
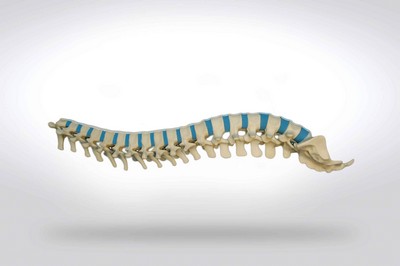
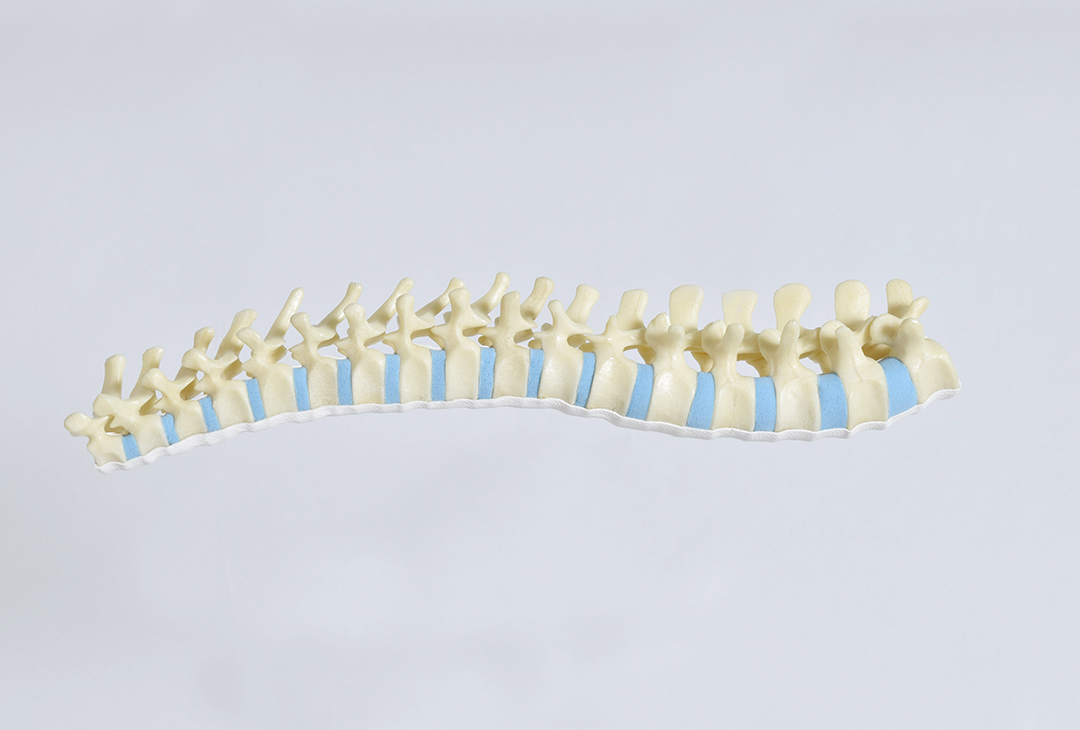
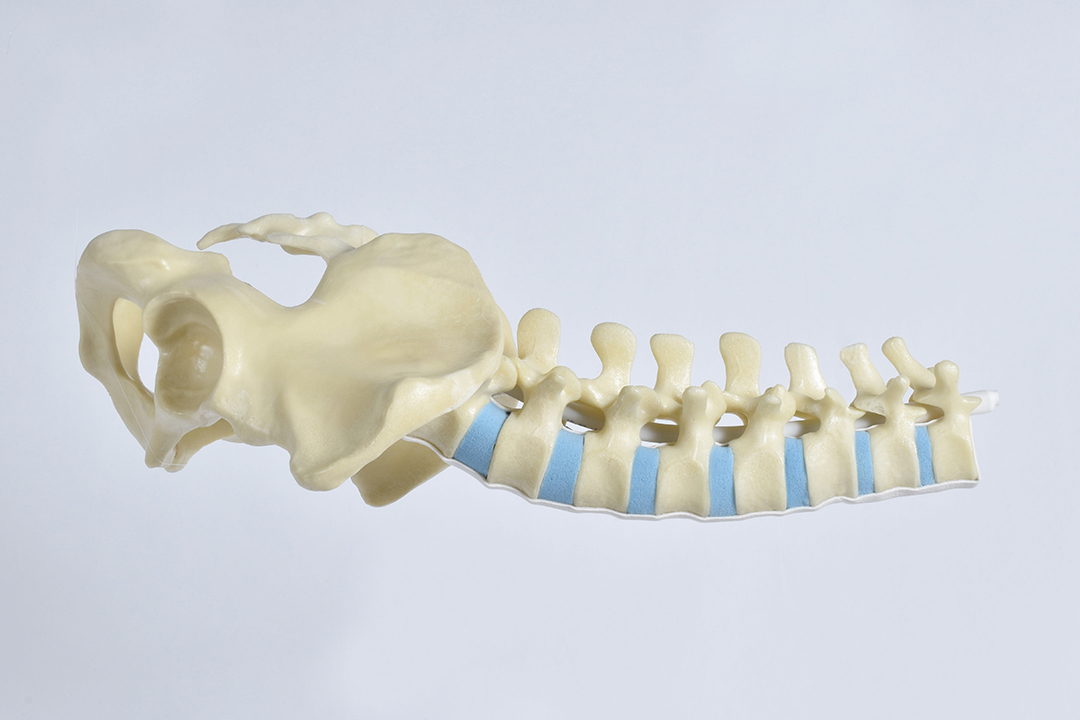
Spine lumbar T7-L5 Pelvis flex rod
LD9309.7
Lumbar Spine from T7-L5 to Sacrum with Pelvis, with flex rod
PRINT
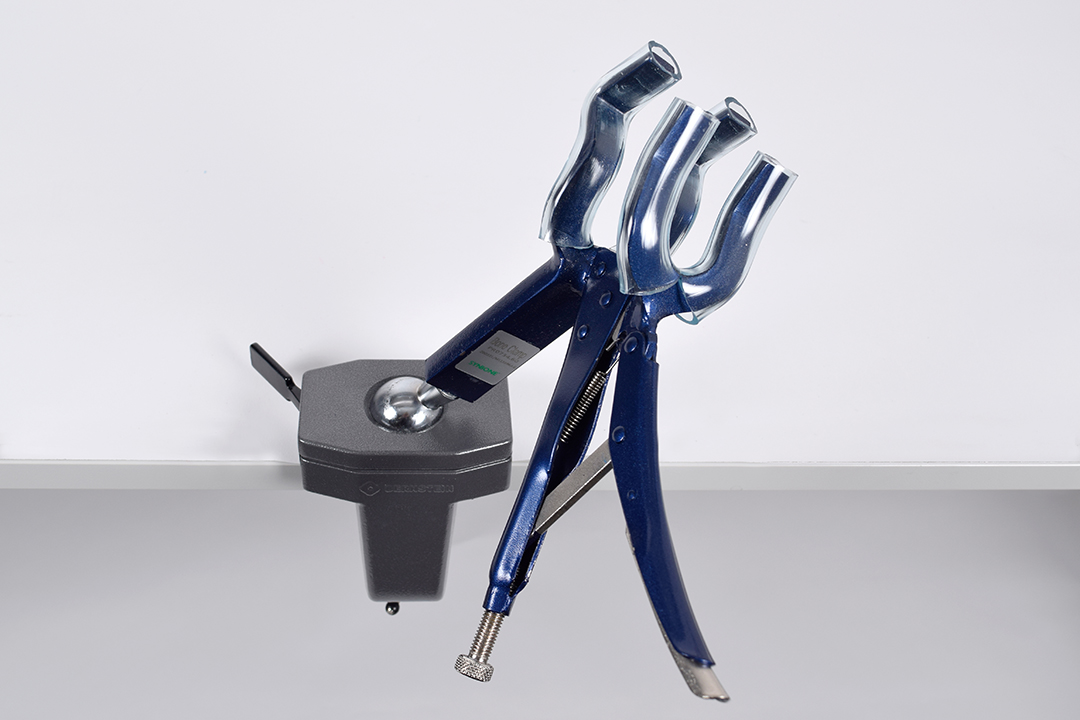
Bone Clamp w/ Ball Head
PR0733.60
Bone Clamp with table clamp. The ball head allows 360° of stepless adjustment in all directions. Bone models are NOT included in delivery
PRINT
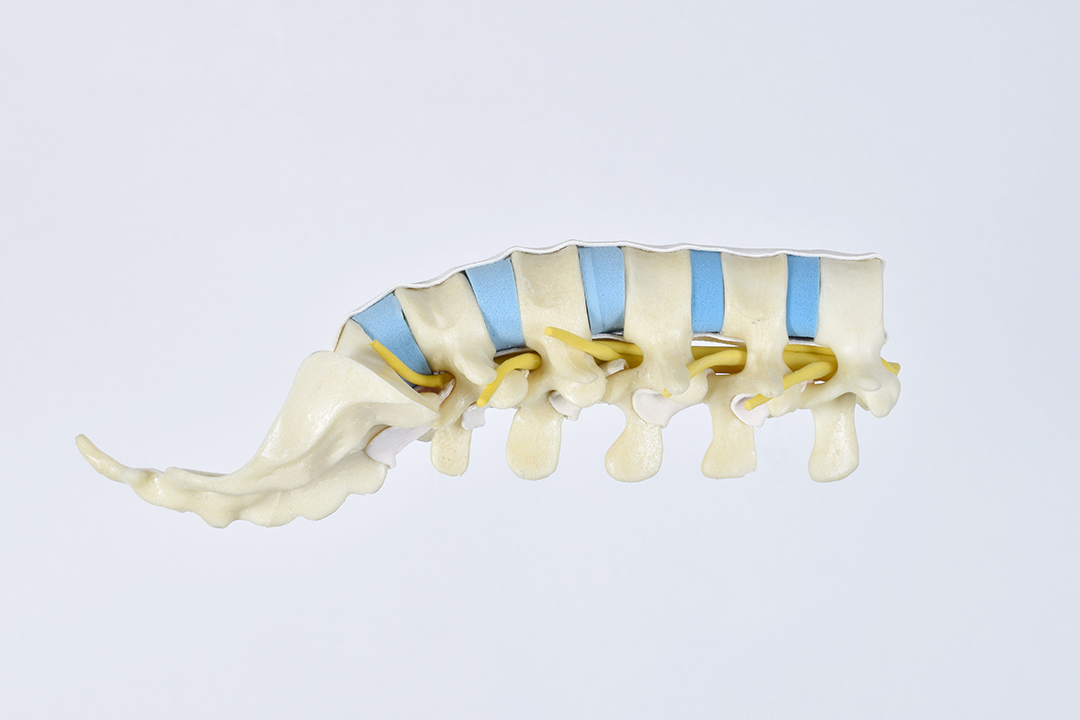
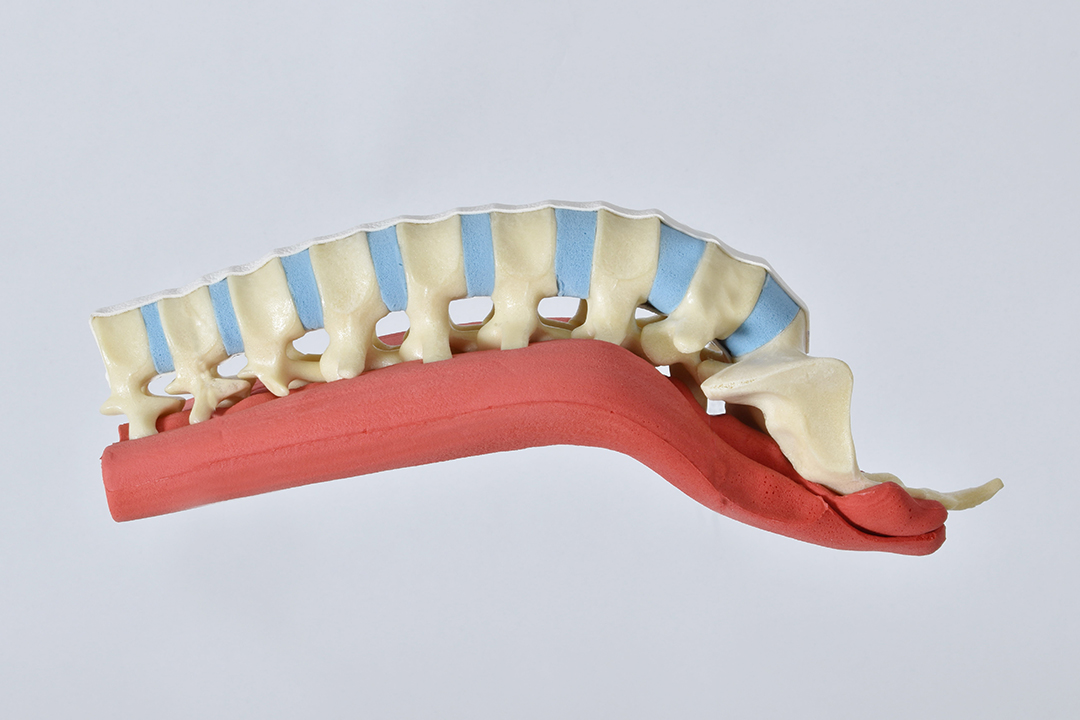
Spine L1-L5 w/ Sacrum, Spinal Cord, Nerves and Flava
LSS9379.60
Lumbar Spine from L1 to Sacrum with Spinal Cord, and nerves, ligaments, and flava
PRINT
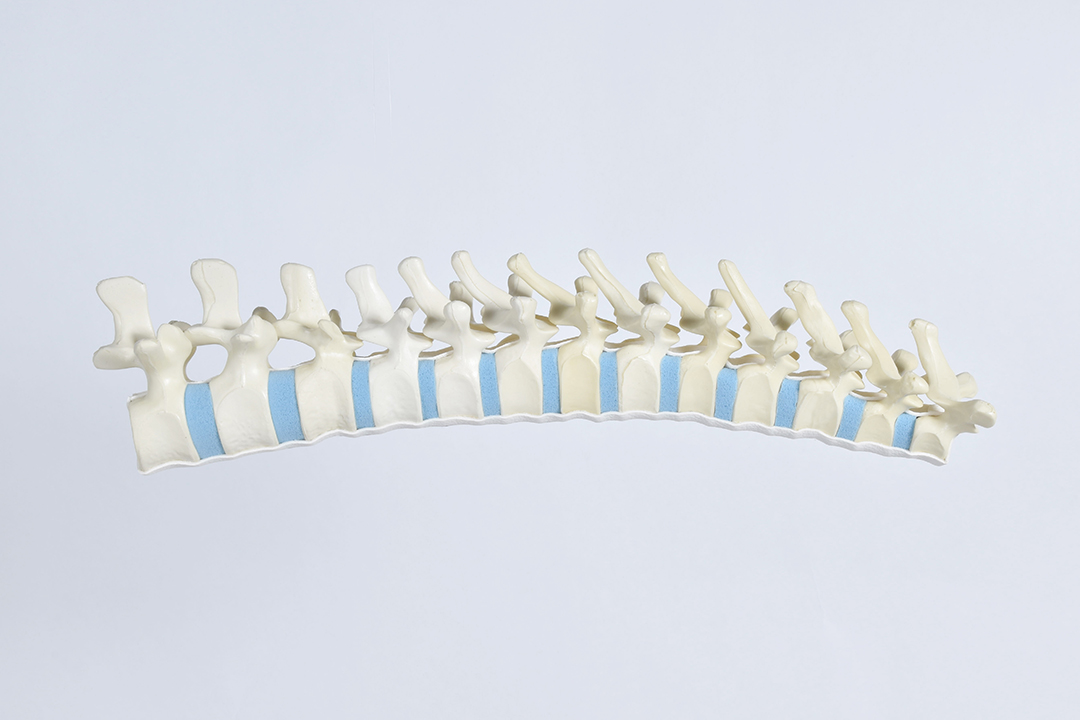
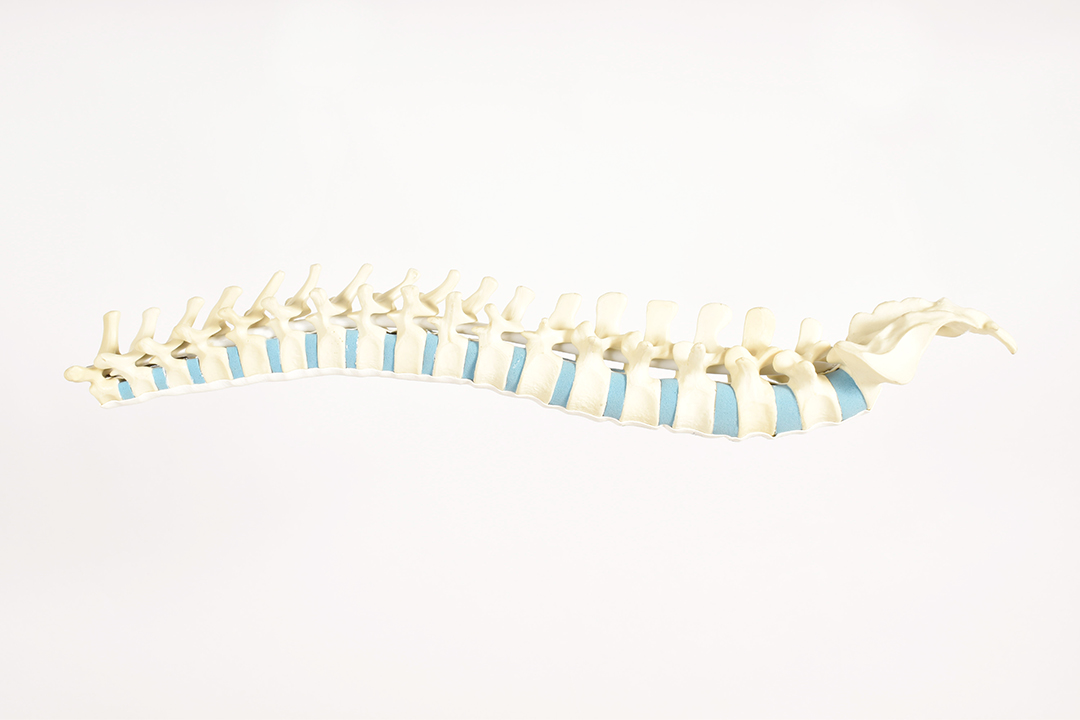
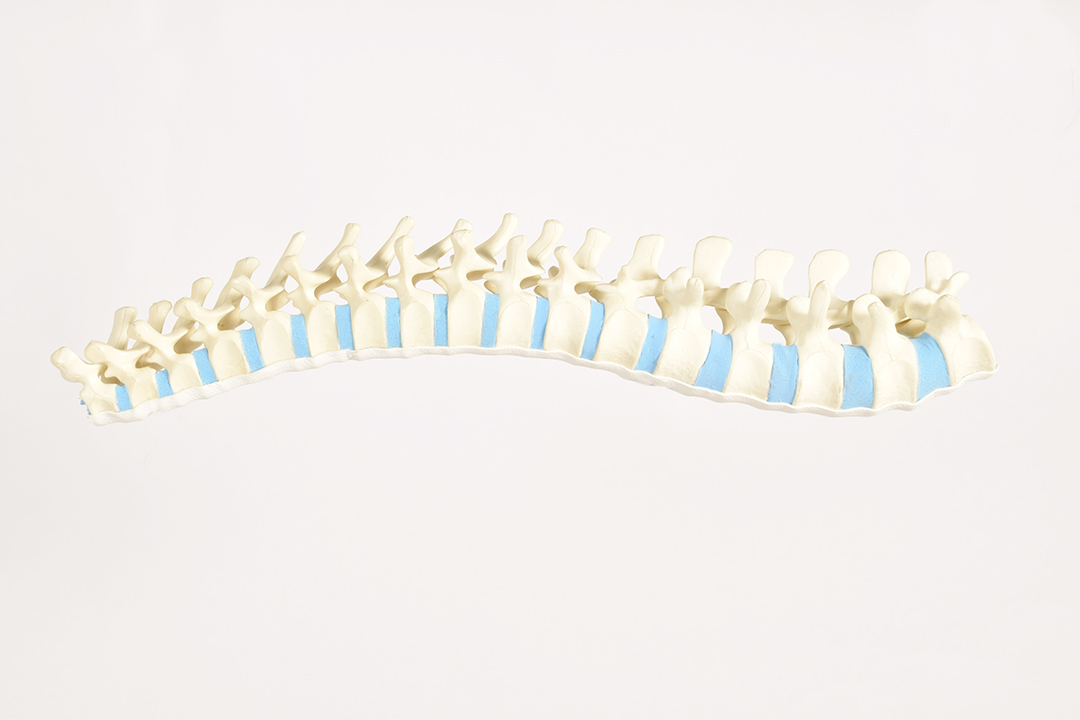
Spine lumbar T10-L5 w/ Pelvis a/ Flex Rod
LSS9371.7
Lumbar Spine from T10-L5 to Sacrum with Pelvis and flex rod